Setting up Google Credentials for AP Harvester
Since Harvester relies on Google Sheets for data storage, the first step in setting up your own Harvester is creating some Google credentials for the system to use. There are three main pieces to this:
-
Creating and configuring a new project for Harvester on the Google Cloud Platform
-
Creating a service account that Harvester will use to interact with your data collection projects in Google Sheets
-
Creating OAuth credentials to enable authentication and authorization in Harvester (this is optional but recommended)
Google Cloud Platform Project
You can set up all the necessary Google credentials using the Google Cloud Platform dashboard. If this is your first time using the dashboard, Google might ask you to agree to some terms of service before getting started, but then you should see a blue navbar at the top of the dashboard with a project selection drop-down. If you haven't created any projects you it will just say "Select a project", but if do have an existing project then a project will automatically be selected and that project's name will be in the drop-down. It's in the top-left:

Click on the drop-down and it will open a project selection dialog. If you want to use an existing project for Harvester you can, but creating a new project for it might be a good idea to keep your services isolated from each other. To create a new project you can click the "New Project" button in the top right of the dialog.

To create a new project you first have to give your project a name. Something like "AP Harvester" or whatever will help you remember what this project is for should be fine. (Note that the project ID, which by default is automatically generated from the project name, will be included in the email address of the service account used by Harvester, so choose something reasonable.) You also have the option to choose a location for the project; unless you have your own project organization system in the Google Cloud Platform you should be fine with the default option of "No organization".
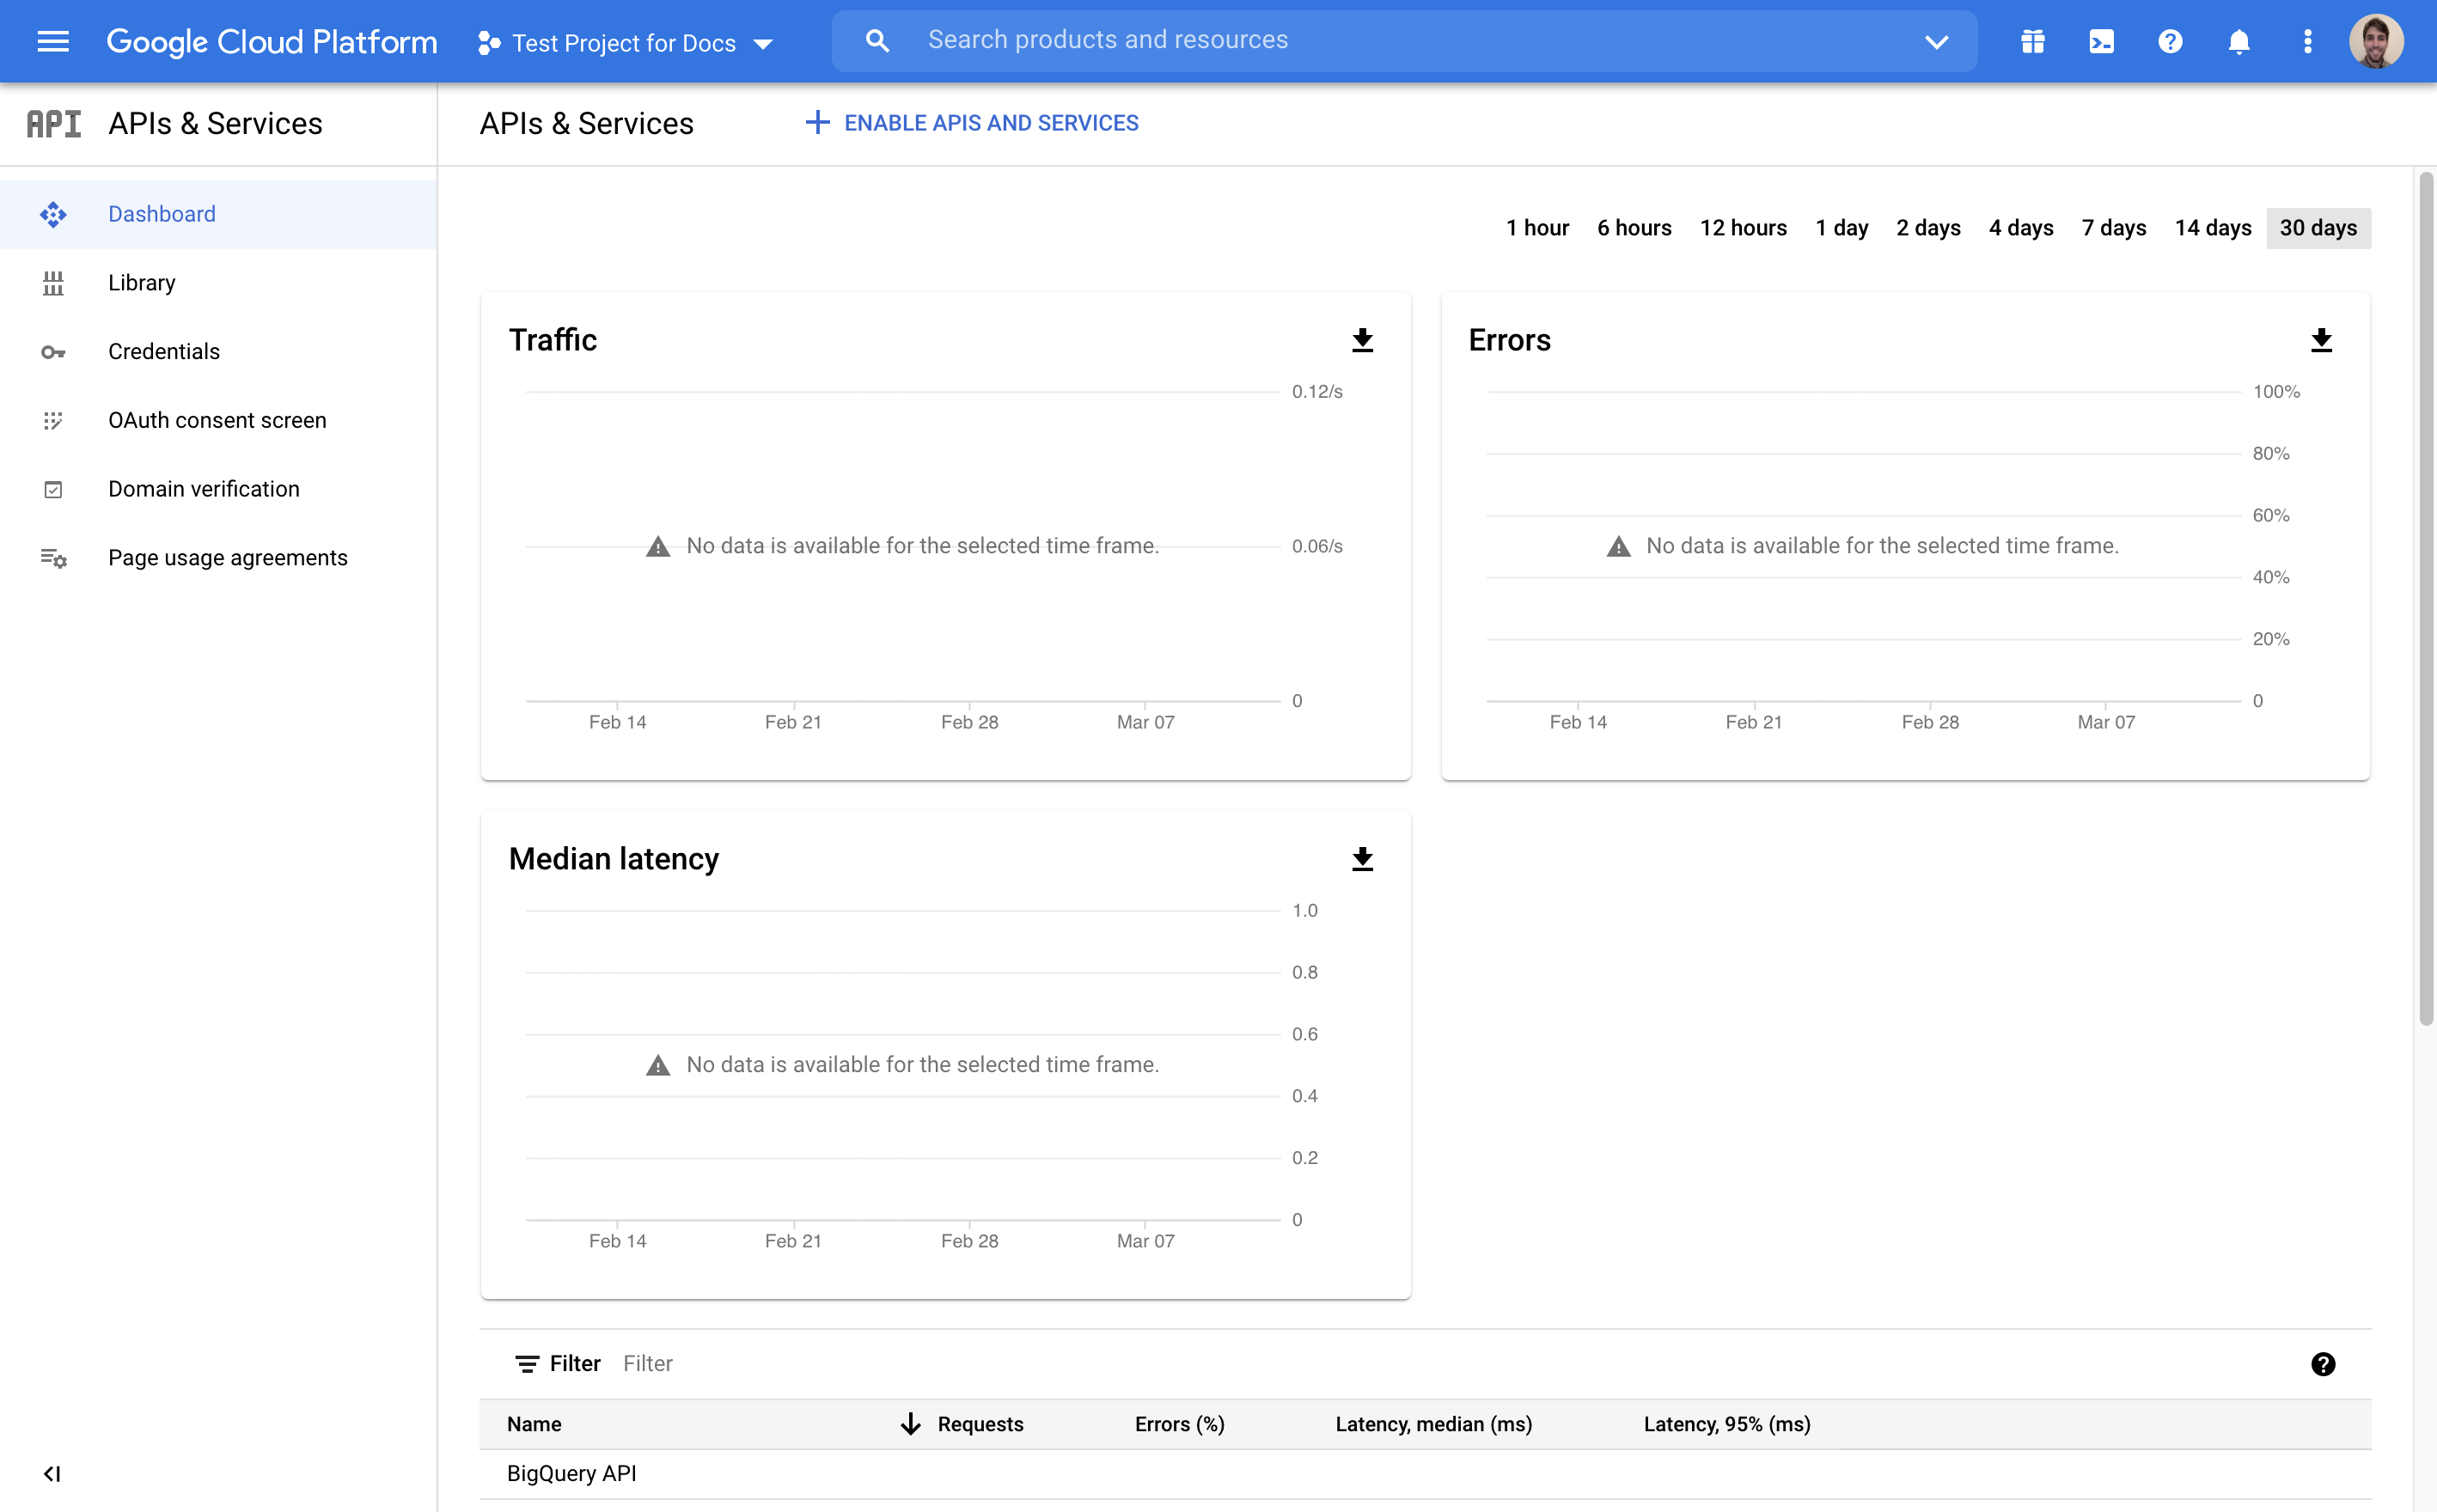
Now you have a project that will contain all of your Harvester credentials! You should end up at the project dashboard, which is where you started out, but your new project should be selected in the project selection drop-down. It should look like this:
Enable Google APIs
Now that you have a project you will need to enable a few Google APIs in the project; namely, the Google Sheets API, the Google Drive API, and the Google People API. You can enable APIs by clicking the "Enable APIs and Services" button at the top of the project dashboard. That should take you to an API search screen, where you can search for an individual API and hit the "Enable" button.


Once you enable the Google People API (search for "people"), the Google Sheets API (search for "sheets"), and the Google Drive API (search for "drive") your project will be ready to go.
Service Account
Harvester uses a service account to access Google Sheets to manage data collection projects, so the next step in our setup is creating a sevice account. Head back to your project dashboard and navigate to the "Credentials" section in the navbar on the left; then hit the "Create Credentials" buttons at the top of the page and select the "Service account" option.

You will have to give your service account a name, which will also appear in the service account's email address by default; something like "Harvester Backend" should be fine. It might be worth giving the account a brief description as well.
Next you have the option to grant the account some roles. This service account will only be used as an identity to share documents with, so you don't need to grant it any roles.
After that you can allow some users to act on behalf of the service account. You likely won't need to do that, so you can skip it.
Now your service account should show up in the table of service accounts at the bottom of the "Credentials" section of your project.

Click on the service account's email address to go to a detail view of the service account. At the top you should see a "Keys" tab; click on that tab and then hit the "Add key" button in the middle of the page and select "Create new key".

You will get a pop-up where you can select a key type; select JSON and hit "Create". A JSON file containing your service account's credentials will be downloaded to your computer; put the file in a safe place because you will need it when you deploy Harvester.
OAuth Authentication
If you want to set up Harvester with authentication and authorization enabled you will have to create OAuth keys for it to use. Go back to the project's "Credentials" section and hit the "Create Credentials" button at the top of the page, just like we did to create a new service account, but this time select "OAuth client ID".

Consent Screen
Before you are allowed to actually create your OAuth keys you have to create an OAuth consent screen which will ask your users if they agree to allow Harvester limited access to their accounts. Click the big blue "Create OAuth Consent Screen" button.
The first thing you have to choose about your consent screen is the application type; you should choose "External" so that the project will be available to any user with a Google account.

Next you need to set up some basic information about the OAuth consent screen, including the name of your project, a logo for the project and a technical support contact email. You can also include links to your project's home page, privacy policy, and terms of service.
You will also have to include some authorized domains. These need to be domain
names (e.g., ap.org or ap-harvester-demo.herokuapp.com) that are allowed to
appear on your consent screen. You should include the domain where you will be
deploying Harvester as well as the domains used for any links you included
above.
Finally, you have to put in a developer contact email address and you can save and continue.
The next step is to specify some scopes that your consent screen will ask permission to access. Harvester requires two scopes to be accessible through OAuth:
-
auth/userinfo.email -
auth/userinfo.profile
You can add them by clicking the "Add or Remove Scopes" button, clicking "Filter" above the scope list on the left, typing in "userinfo", and checking the correct boxes from the remaining scopes.

If you created your OAuth screen as an "external" project at the beginning, your project will start out in "test" mode, meaning it is only available to users who are explicitly added to the project. At the next step you have the opportunity to add some users to the project; it's a good idea to add yourself even if you're just going to publish the project right away. Click the "Add Users" button, type your email address into the input field, and then make sure to click the "Add" button twice; the first time should convert you email to a pill box, and the second time should close the "Add users" dialog and actually add you as a user.
That's all there is to setting up your consent screen; you can click through the summary and return to your project's "Credentials" section.
Client ID
Now that you have an OAuth consent screen you can return to the "Credentials" section of your project and continue creating an OAuth client ID.
Select an application type of "Web application", give it an identifiable name
like "AP Harvester", and add an "Authorized redirect URI" for use with
redirects from a web server (not an "Authorized JavaScript origin"). You will
need to add a fully qualified URL to the path /auth/oauth-google/callback, so
if you are going to deploy the project to Heroku with the app name
my-harvester, you should add the redirect URI:
https://my-harvester.herokuapp.com/auth/oauth-google/callback
Once you hit "Create" you should get a pop-up with your OAuth credentials. Copy both the client ID and the client secret and put them in a safe place. You will need them when you deploy Harvester.
Done!
And with that, all your Google credentials are ready! You should have the JSON credentials for your service account and your OAuth client ID and secret ready when you deploy Harvester.